GitHub Pages About Me & Tools Hub
Categories: GitHub Pages Breadcrumb: /web-devIn this guide, you'll set up your personal About Me site using GitHub Pages and create a homepage to organize and link to your Day 1 tools lessons. By the end, you'll have a deployed website that documents your development setup and serves as a launchpad for future projects.
Overview
Welcome! Today we will personalize your GitHub Pages About Me site. This is an important step to create a space that represents you and your journey as a developer.
By the end of this lesson, you will be able to:
- Edit your About Me page using Markdown
- Add images to your site
- Test your site locally and deploy it to GitHub Pages
Let’s get started!
Step 1: Edit Your about.md File
- Open your project folder in VSCode.
- Navigate to the
navigation/folder and openabout.md. - Replace the placeholder content with information about yourself — your interests, courses, and links. Here’s an example snippet:
---
layout: page
title: "About Me"
permalink: /about/
---

# Hello! I'm Vibha

I’m passionate about computer science, design, and building cool projects.

## Interests
- AI / Machine Learning
- Full-stack Web Development

## Courses
- AP Computer Science Principles
- AP Calculus

## Links
- [My GitHub](https://github.com/vibha1019)
- [My Resume](#)
Step 2: Add Images to Your About Page
Images make your page more engaging and personal! Here’s how you can add images correctly.
Find and Save Your Image
- Search for an image online that represents you or your interests (e.g., a state flag, favorite animal, or personal photo).
- Right-click the image and select Save Image As…
- Save it with a clear name like
default.pngorprofile_pic.png.
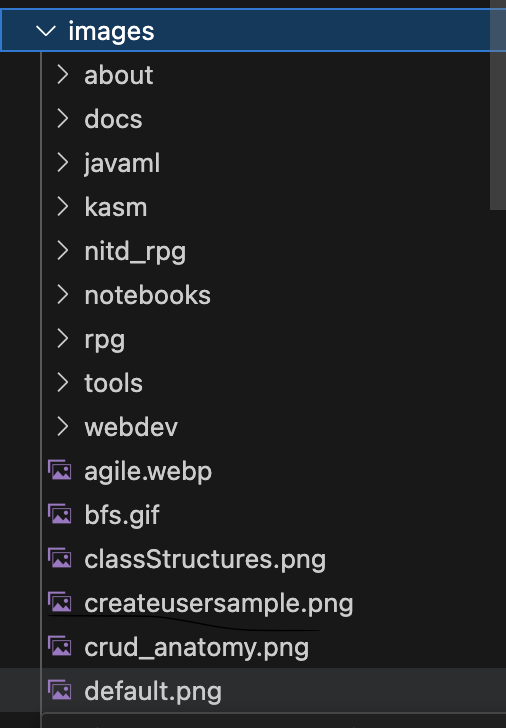
Organize Your Image Files
- Move or copy your downloaded image into the
imagesfolder.
Your project should look like this:
Link Images in Markdown with {{ site.baseurl }}
Use this syntax in your Markdown to ensure images work:
{{ site.baseurl }}/images/default.png
Take some time to try this yourself.
By now, you should have personalized your About Me page with your own interests and added at least one image that represents you.
Step 3: Test Your Site Locally
Before pushing your changes to GitHub, it’s a good idea to preview your site on your computer.
- Open your terminal in VSCode
- Run the command:
make -
This will build your site and start a local server (http://127.0.0.1:4600/student/)
- Open your browser and go to that address to see your site with your latest changes.
Step 4: Commit & Sync Your Changes to GitHub
Once you’re happy with how your site looks locally, push your changes so everyone can see them online.
In VSCode:
- Click on the Source Control tab (the icon with the branch or 🔃).
- Stage all your changes (click the “+” next to changed files or use Stage All).
- Write a clear commit message like: Personalize About Me page
- Click the ✔️ Commit button.
- Click the Sync Changes button to push your commit to GitHub.
Once synced, your updated About Me page will be live on your GitHub Pages site!